Create appointment
Operation – Create Appointment
This section explains the entire appointment creation procedure; for updated details specifically for the entire Infomedia SuperService Menu Pricing Lookup interface please click here.
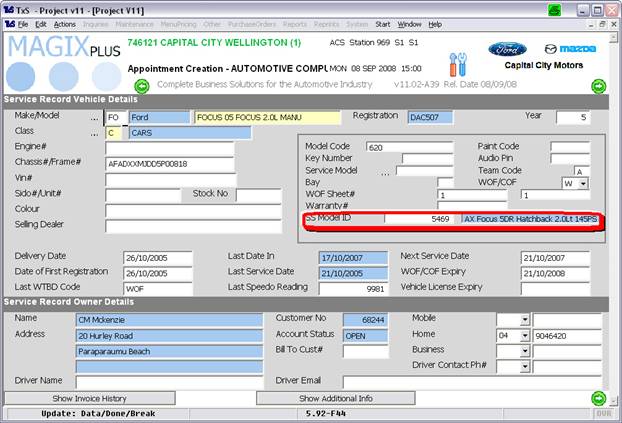
At the Service Record Vehicle details screen when creating an appointment you will see the ‘SS Model ID’. This is what Magix uses to determine the specific services available for the particular vehicle.
The ‘SS Model ID’ is populated during the SuperService Lookup process, see Super Service Lookup process on the next page.
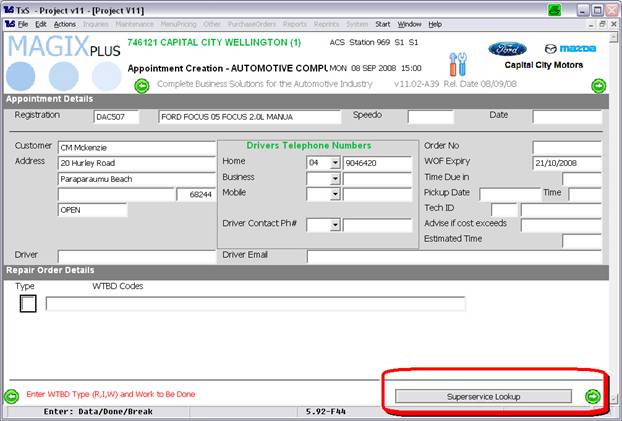
At the screen where you enter the Work to be done, you will see a button at the bottom of the screen to activate ‘SuperService Lookup’.
Type your repair type first, and then click the button.
Super Service Lookup (Create Appointment)
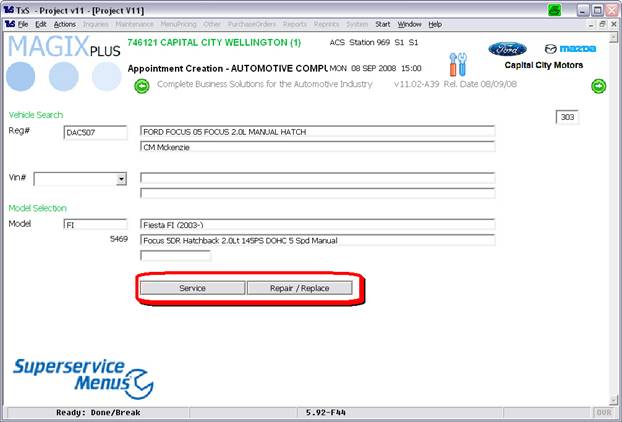
The Super Service Lookup screen is presented. As Magix knows the vehicle details the screen immediately displays them along with the valid ‘Service Categories’, for this Model.
Click on the desired Category.
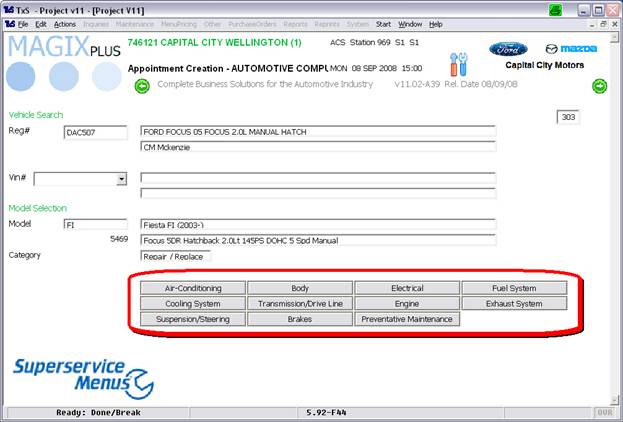
Magix will now present the corresponding ‘Section’.
Click on the desired Section.
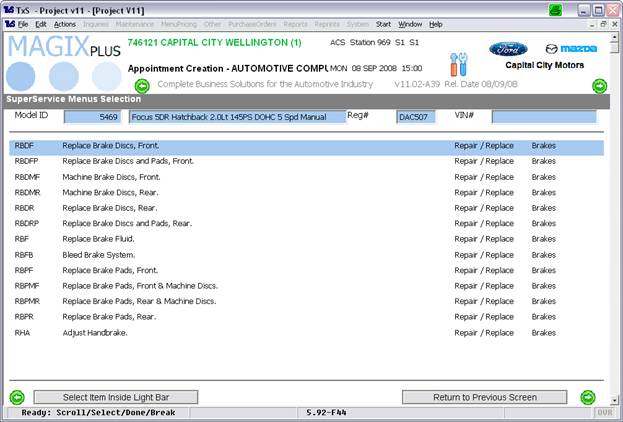
Magix will now present a list of ‘SuperService Menus’ to select from.
Double click on the desired menu.
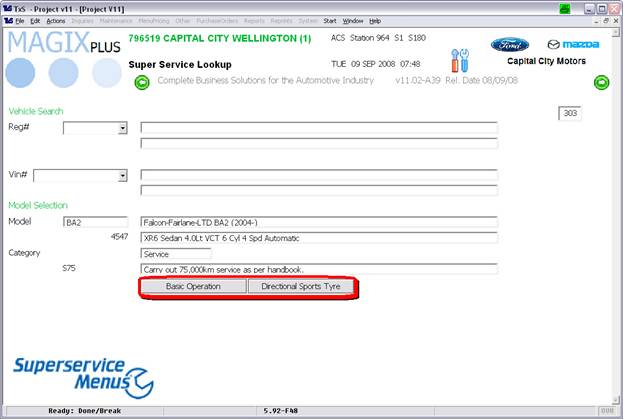
Magix may present a Variant Screen if the model has more than one (Variant).
Double click on the desired Variant.
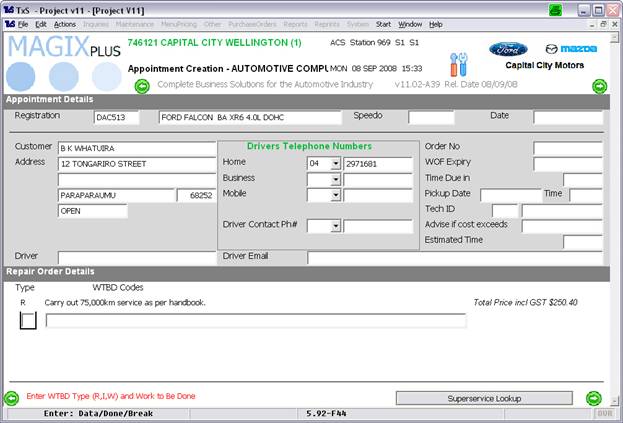
The selection process is complete, and the screen shows the selected menu item along with the Total Price including GST.
You may now click on the SuperService Lookup Button again or continue to the next stage as usual.
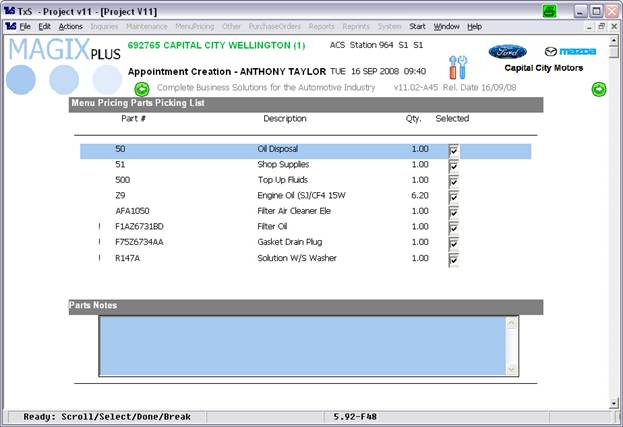
Magix will now present a new screen that enables you to ‘toggle’ the recommended items in a service from Selected to Un-Selected.
You can also click on the parts notes area to enter details of any other parts required.
A picking note is then sent to the parts department.
Notes:
• Any items you toggle to ‘Un-Selected’ will still print on the repair order with a note saying ‘Removed at Customer Request’.
• The '!' indicates the Part has insufficient Quantity on Hand.
• Items that Lease Companies will not accept will be ‘Un-Selected’ automatically. See page 12.
• All Workshop Charges are automatically created on the Service Invoice.
• Parts are ‘released’ see page 9. Parts Department Operation.
• See next page for details on Labour.
Labour
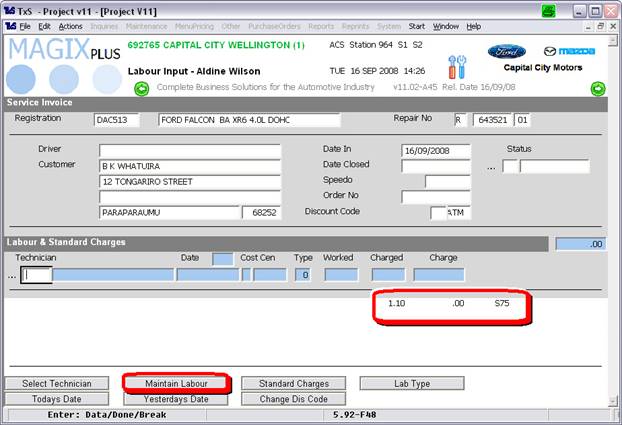
The Labour Component is automatically recorded in the labour section of the Invoice.
If you are not using Time Clock use the Maintain button to select the Menu Pricing Labour to enter the Technician, Date and Time Worked.
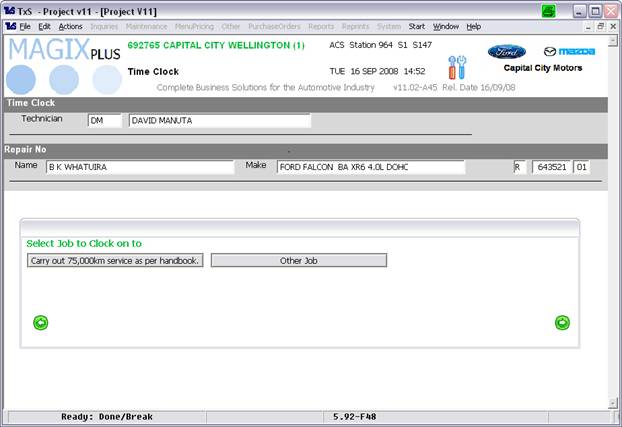
If Time Clock is used after the Technician is logged on and the Repair# inputted Magix will ask to select the ‘Job to Clock on to’. Click on the appropriate button.
Note: If there is other work on the Repair Order the technician should clock off and on before continuing.
SuperService Lookup
You can also go directly to SuperService Lookup by two methods,
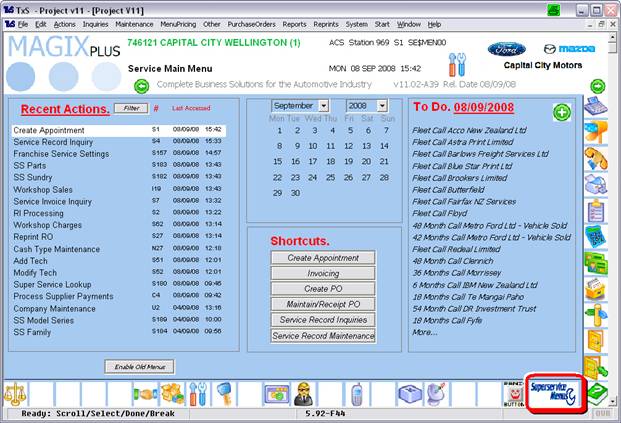
1. Click on the SuperService Icon on the Menu
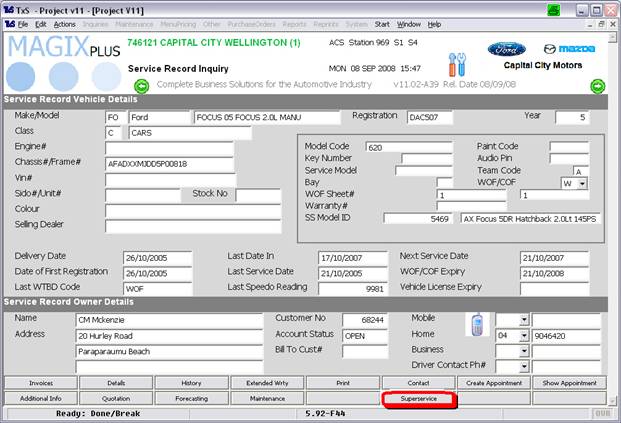
2. Click on the ‘SuperService’ button in Service Record Inquiries
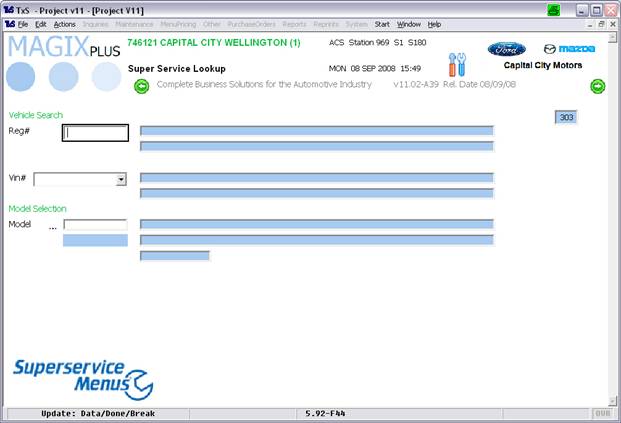
If you click on the ‘SuperService’ icon on the menu screen Magix does not know the vehicle details.
You may enter Registration #, VIN# or click on the ‘…’ to select the Model.
Note: The quickest method is to enter Registration #.
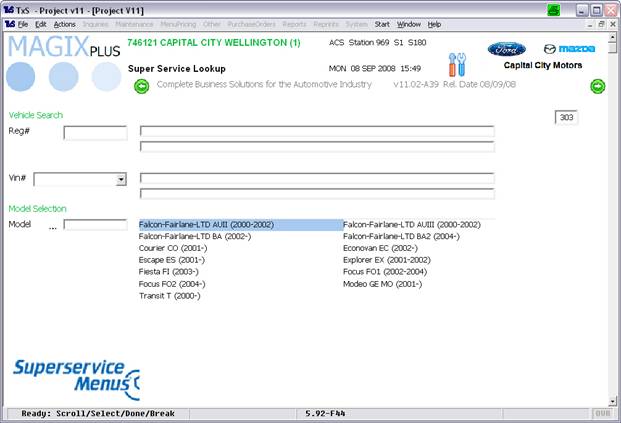
Clicking on the ‘…’ will present the ‘Model Series’ for selection.
Note: See page 10 to learn more about the ‘Model Series’ table and how it is maintained.
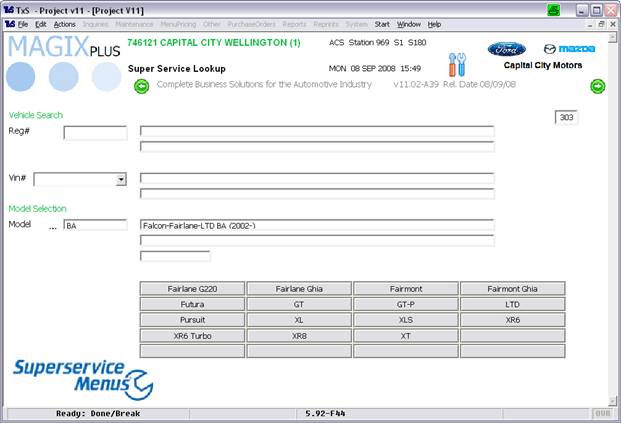
Click on the desired ‘Series’.
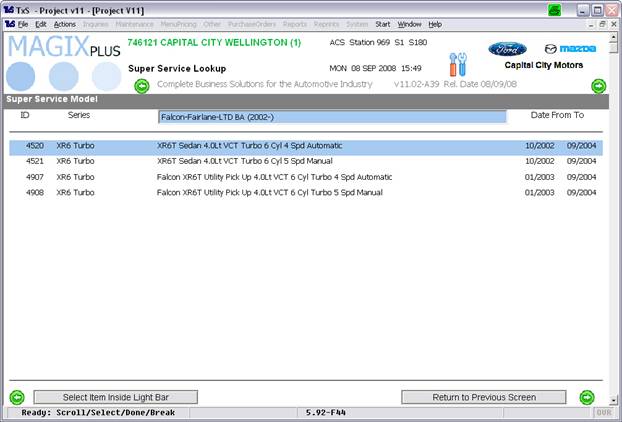
A list of valid models is now shown.
Double click on the desired model.
The process is then the same as detailed before in the Super Service Lookup (Appointment Creation) section.
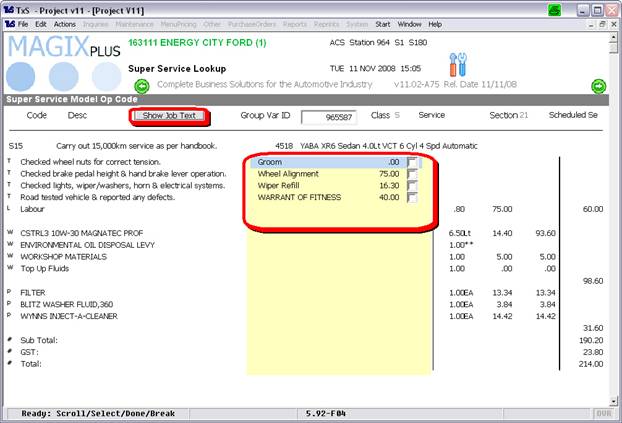
Once you have selected the desired service Magix presents the SuperService Menu on the screen. You can use the ‘Show Job Text’ button to see more detail.
You will also see that Magix presents a list of ‘Upsell’ items. Click on the items to include.
Note: See page13 for more information on how upsell items are setup.
SuperService Parts Operation
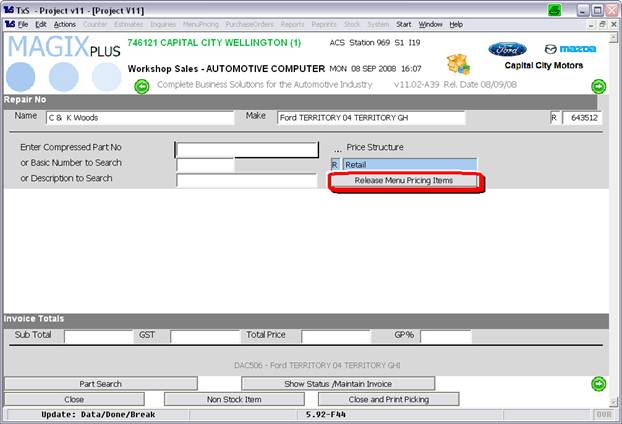
In the parts module a new button appears ‘Release Menu Pricing Items’. Click this to automatically invoice all the parts listed.